In this unit, you will…
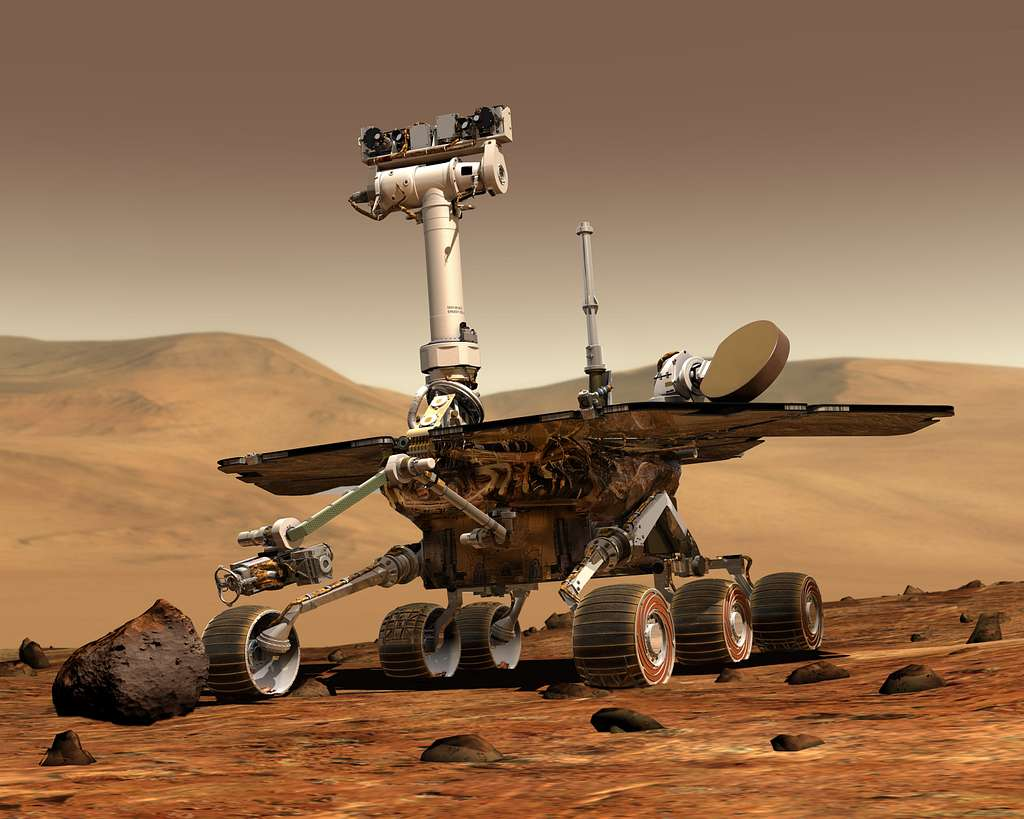
- Program a BBC micro robot as part of a Mars Rover mission for the Lincolnshire Space Academy.
- Develop your understanding of key computer science concepts, including algorithms, flowcharts, sequence, selection, iteration, functions and sensor input.
- Plan, code, test and improve your rover so it can complete movement challenges, navigate obstacle courses, and make smart decisions when exploring Mars.
🎯 Learning Objectives
- Plan the movement of the rover using a flowchart
- Turn that plan into block code using MakeCode
- Learn how to program with the Klip motor components
- Improve the efficiency of code like real engineers
💬 Key Vocabulary
- Algorithm
- Flowchart
- Construct
- Sequence
- Selection
- Iteration
- Motor
- Duration
- Repeat
📝 Starter Activity – Mars Rover
On a blank word document answer the following the following question:
What would happen if a Mars rover couldn’t follow instructions accurately?
Try and be as in-depth as possible!
📖 Introduction
Over the next three lessons, you will become engineers at the Lincolnshire Space Academy.
Your mission is to design and develop the code that will control a Mars rover.
Before any rover is launched to Mars, it must successfully pass a series of movement tests here on Earth.
The test is simple:
- The rover must drive in a perfect square and return close to where it started.
- It must do this in the most efficient way possible
- If it cannot move accurately on Earth, it cannot survive on Mars.
Today we will:
- Plan the movement using a flowchart
- Turn that plan into code
- Improve the accuracy like real engineers

📖 What Is an Algorithm?
Before we can do anything we first need to remind ourselves what an algorithm is.
An algorithm is a set of steps to solve a problem.
The problem with algorithms is that we must be very specific.
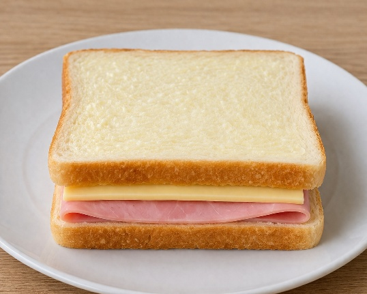
Let’s imagine we are making a ham and cheese sandwich with the following instructions:
- Step 1: Get bread
- Step 2: Add ham
- Step 3: Add cheese
- Step 4: Butter the bread
- Step 5: Put it together

Computers and robots only follow instructions in order.
They cannot guess what we mean.
That is why we must plan carefully.
- Step 1: Take two slices of bread from the packet
- Step 2: Place both slices flat on a clean surface
- Step 3: Open the butter container
- Step 4: Pick up a knife
- Step 5: Scoop a small amount of butter using the knife
- Step 6: Spread the butter evenly on one side of each slice of bread
- Step 7: Place one slice of ham onto one slice of bread (buttered side facing up)
- Step 8: Place one slice of cheese on top of the ham
- Step 9: Place the second slice of bread on top (buttered side facing down)
- Step 10: Align the edges of the sandwich
- Step 11: Press down gently on the top slice
- Step 12: Put the knife down safely
📖 Construct Basics
The process we have just seen with the sandwich, where we broke the problem into step-by-step instructions where order matters, is called Sequencing.
In programming, there are three important ideas called constructs:
Sequence (doing steps in order)
This means instructions happen one after another in the correct order.
Example:
- Move forward
- Turn
- Stop
If the order is wrong, the robot will not work correctly.
Selection (making a decision)
This is when the program needs to choose between options.
Example:
- If something happens → do one thing
- Else → do something different
We are not using this yet, but we will in later lessons when the rover makes decisions.
Iteration (repeating steps)
This means repeating instructions multiple times.
Iteration makes code shorter, clearer, and easier to fix.
Example:
🍪 Baking Cookies
- Scoop dough
- Place on tray
- Repeat 12 times
👉 Same action repeated many times

🥇🥈 Level 1/2
Working in a group of Two, you will now learn how to program the robot to move in the pattern of a square.
Each group member will be creating their code on the MakeCode website and taking screenshots of the code as evidence for the badges.
You will have a single robot per group, but each group member must program their own micro:bit.
The robot will use one micro:bit at a time but make sure each team member has a turn at using their micro:bit within the robot.
REMEMBER – Save your code frequently
Step 1
First you need to go to the Micro:bit websiteand create a new project
- Go to https://makecode.microbit.org/
- Click on New Project and name it ‘Micro:bit Robotics Lesson 1’
Step 2
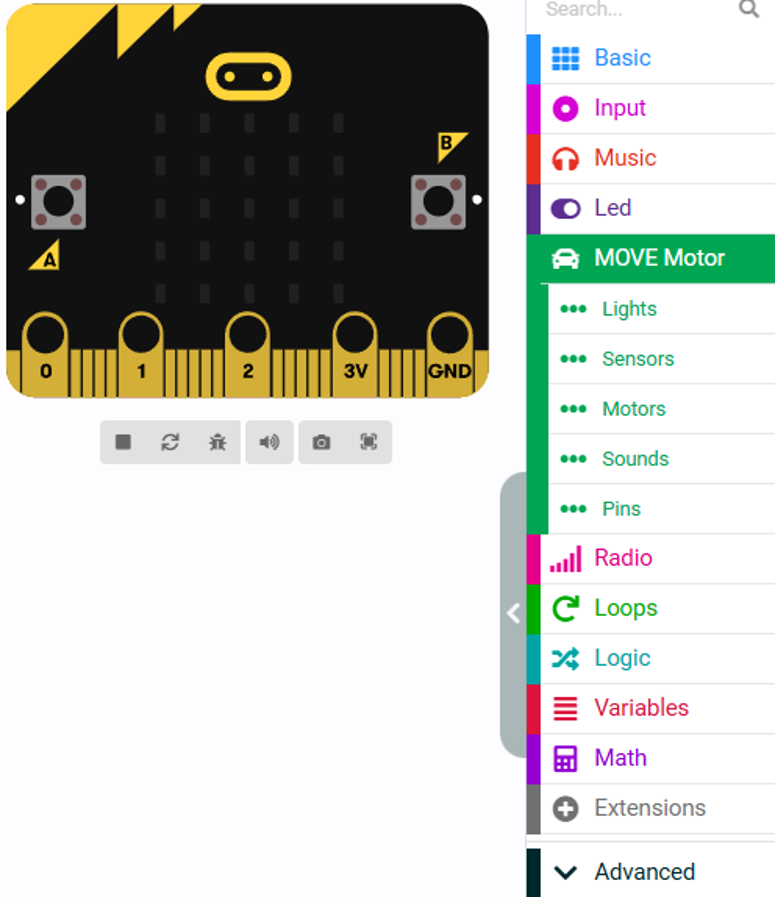
Now you need to add the Move motor components to allow you to control and move the robot
- Click the extension part at the bottom of the screen
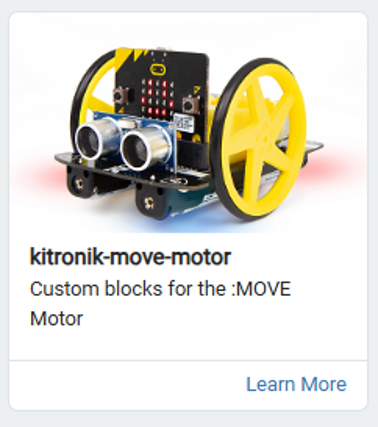
- Search for the Kitronik Move Motor and add the extension by clicking on it
- You should now have the Move Motor option for building your robot code
Step 3
You will now learn how to command the robot to move from turning on the motors and setting the travel distance.
The first step is to set the travel distance and turn time then create the four functions to allow the robot to move forward, turn left and right and stop.
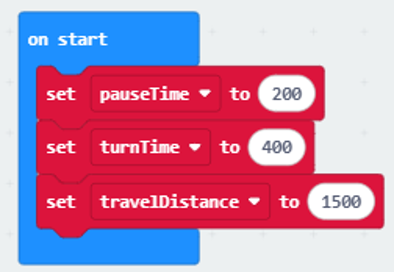
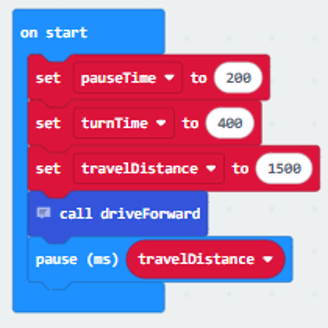
- Create three variables labelled travelDistance, turnTime, pauseTime.
- Set travelDistance to 1500, turnTime to 400 and pauseTime to 200.
- Then add them to ‘on start’
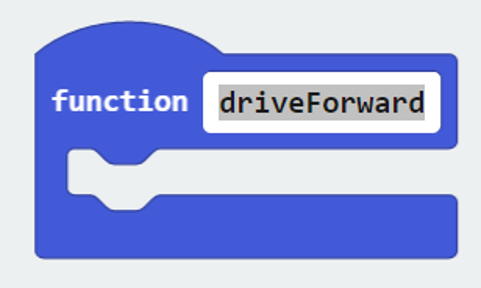
- You need to create four functions labelled driveForward, turnLeft, turnRight, and Stop. Start with creating the driveForward function
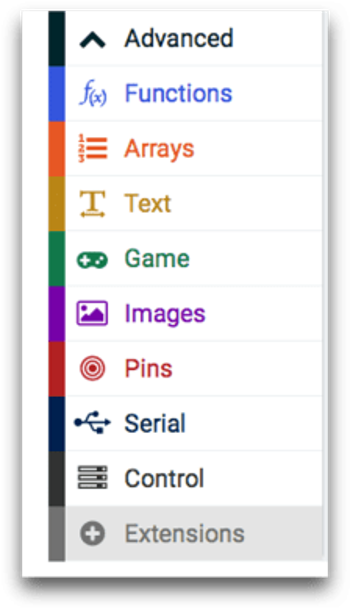
- Click on Advanced then click on Functions
- Within the Functions option click ‘Make a Function…’
- Click on the doSomething label and overwrite it with driveForward then click Done
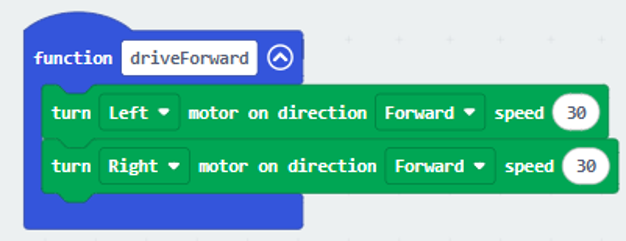
- You have now created the driveForward function. Next is to add in the code to turn both the motors to make the robot move forward.
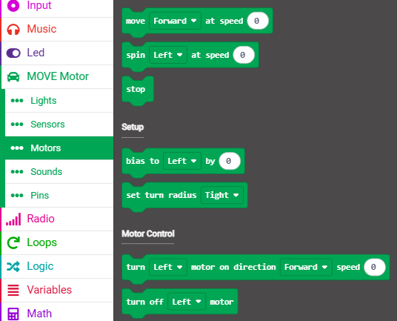
- Click on the Move Motor menu then click Motors
- add in the turn motor command under Motor Control
- You will need to add this in twice to turn the left and right motor
- Make sure both the left and right motors the speed set to 30
Your code should look like this:
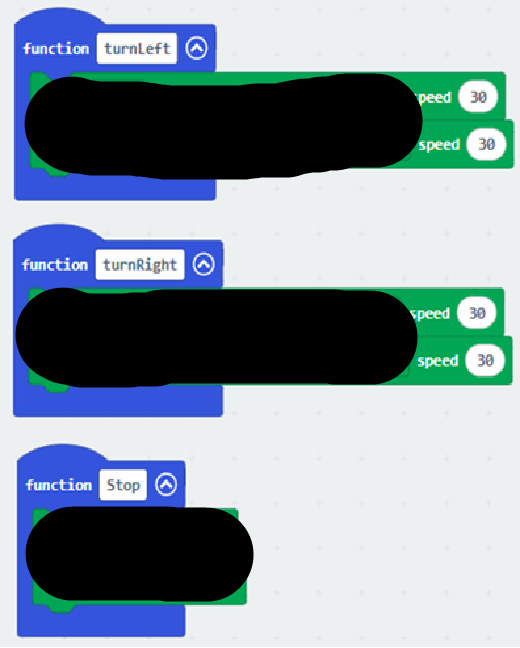
Now create the functions for turnLeft, turnRight and Stop.
Hint
You will need to use both Forward and Reverse to turn
Step 4 – Build the Square Movement Code
Now that you have created your variables and functions, it’s time to put everything together to make the rover move in a square.
🧠 Think First
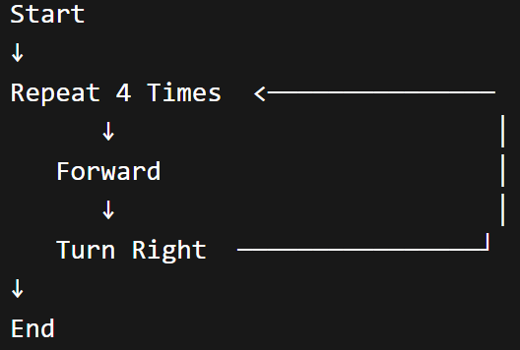
Look at your flowchart from Level 1.
👉 What pattern do you notice?
- Move forward
- Turn right
- Repeat…
👉 How many times do we repeat this to make a square?
Answer
4 Times
Your Task
You now need to recreate that sequence in your code using your functions.
First, you will need to locate your ‘on start’ block
Open the Advanced dropdown menu then the Functions menu.
- Click on the call driveForward block
- Move this to within the ‘on start’ block
- Add in a pause block from the Basic menu and use the travelDistance variable to set the pause time length
Step 5
- Continue to add the blocks of code to allow the robot to move in a square pattern.
- Make sure you add stops in between each movement so the robot can perform actions accurately.
- Once you have completed the code download your code onto the micro:bit
- Plug the micro:bit into the robot then test it
- If the robot moves in a square pattern, upload a screenshot of your code to teams.
🥉Level 3
So far, your rover code works – but there is a problem…
- You had to repeat the same code 4 times manually
Real engineers don’t do this.
Engineers improve code to make it shorter, clearer, and easier to fix – this is why we use loops.
🧠 Link Back to Learning
In the Construct Basics section, we learned about:
Iteration (repeating steps)
This means repeating instructions multiple times.
Example:
🍪 Baking Cookies
- Scoop dough
- Place on tray
- Repeat 12 times
👉 Same action repeated many times
Our rover is doing the same movement again and again – just like repeating steps when baking cookies.
Step 1
Before we change the code, we must think like engineers.
- We always update the plan first
Instead of writing the same steps 4 times, we can show a loop.
Your New Flowchart Should Look Like This
- Go back to your Draw.io flowchart
- Next to your long sequence complete a flowchart that Repeats 4 Times in a loop
- Your loop should only contain two steps: Forward and Turn Right – nothing else.
Step 2
Now we have updated the flowchart we can update our program.
What You Need to Do
Instead of copying the same code 4 times:
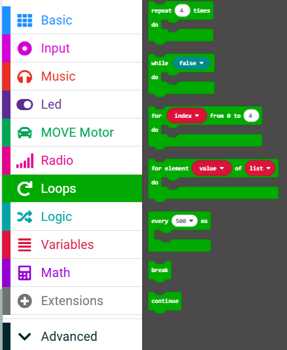
Use a repeat 4 times block
- Go to Loops
- Drag in repeat 4 times
- Place your movement code inside it
- Once you have completed the code download your code onto the micro:bit
- Plug the micro:bit into the robot then test it
- If the robot moves in a square pattern, upload a screenshot of your code to teams.
In this lesson, you…
- Planned the movement of the rover using a flowchart
- Turned that plan into block code using MakeCode
- Learned how to program with the Klip motor components
- Improved the efficiency of code like real engineers
Next lesson, you will…
- Use the Klip motor components to make a maze solving rover
- work in a team to make an accurate solution to a problem
🏅 Level up
🥇 Level 1
- Create a flowchart that shows how the rover moves in a square using sequencing.
🥈 Level 2
- Write the full MakeCode program using functions to move the rover in a square.
- Test and adjust your values.
🥉 Level 3
- Update your flowchart to include a Repeat 4 Times loop, then improve your code using a loop in MakeCode.
- Test and refine your rover movement.